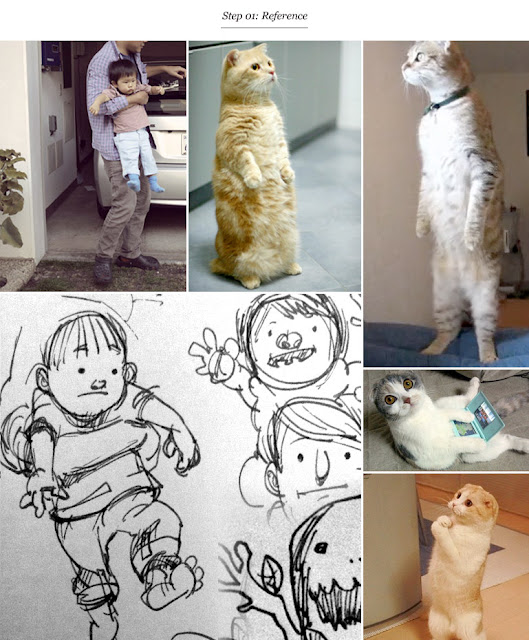
Step 01: Reference
Before I begin an illustration, I like to gather reference. Its an excellent way to waste time and feel good about working. The final illustration was inspired by a photo of me awkwardly carrying my son.
Step 02: Illustrator
I work primarily on the computer. The constant battle is to create a digital illustration that looks hand done. One thing that helps "soften" vector illustrations is to use the roughen effect in Adobe Illustrator. It creates an uneven wobble to the edges.
Step 03: Pen
For this cat illustration, I felt it would be nice to add pen lines as fur. I print the vector illustration and use a light box to trace. Next, I scan the pen lines and import the image into photoshop.
Step 04: Photoshop Texture
This is my favorite step. Once I bring all the elements into photoshop, I move the textures around until it feels right. It's less of a commitment than painting and I enjoy the controlled chaos. One thing to remember is when using different blend modes also adjust the opacity of the layer. For example, using overlay at 100% opacity vs 20% opacity yields different results. You can google textures or purchase them here.
At this point, I will flatten the layer and do some color tweaks. I fill a layer with one solid color and apply the blend mode, soft light, to the whole illustration with 20% opacity (This unifies the colors). Enjoy!
--
Brian Won is an illustrator and 2012 Kid Lit artist. You can see his work at brianwon.net On twitter @bwon1


Post a Comment