The hair must follow the contours of the skull.
Hair fit the skull like a helmet.
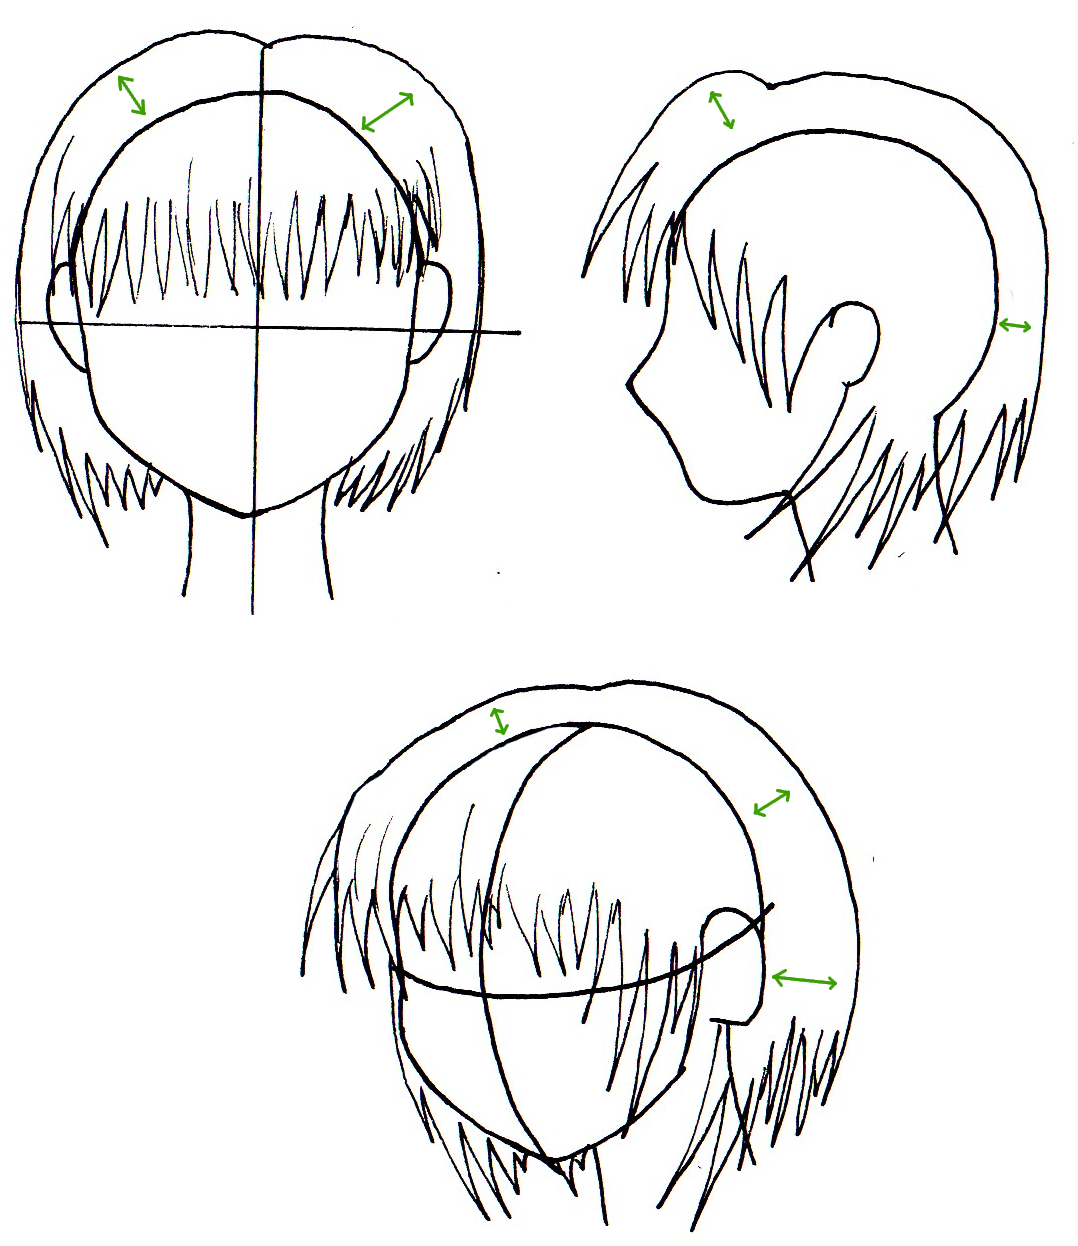 |
| Click for larger image |
When hair is short, the distance between the hair of the head is reduced, in contrast to long hair.
how to proceed
Step n°1
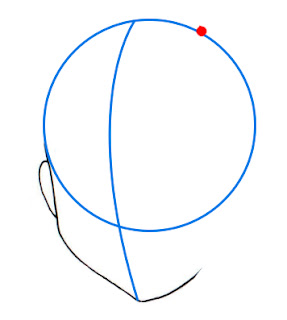 |
| Click for larger image |
First, define the hairline.
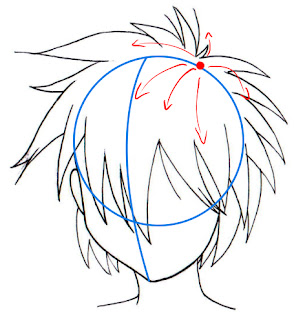
To do this, set a point (red) which all hair
leave (called vortex too).
To do this, set a point (red) which all hair
leave (called vortex too).
Step n°2
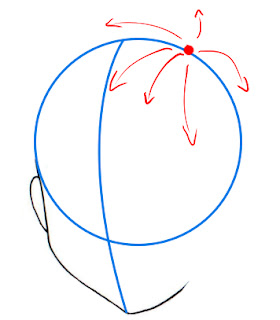 |
| Click for larger image |
We now define the direction must take the hair (red arrows) from the vortex.
No matter where you start, what is important is that the hair follows the direction of the red arrows.
 | |
|
When you draw hair, you should always draw lines against you, starting from the top of the sheet against the bottom. For this, please turn much your sheet.
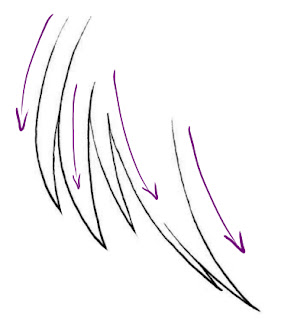 |
| Click for larger image |
The ends of the hair strands are still very sharp and very thin.
Give volume to your hair
To make the hair appear more real, it is important to give it volume by adding reflections.
 |
| Click for larger image |
Start by sketching the contours of the skull, and then sketch the hair as we did before.
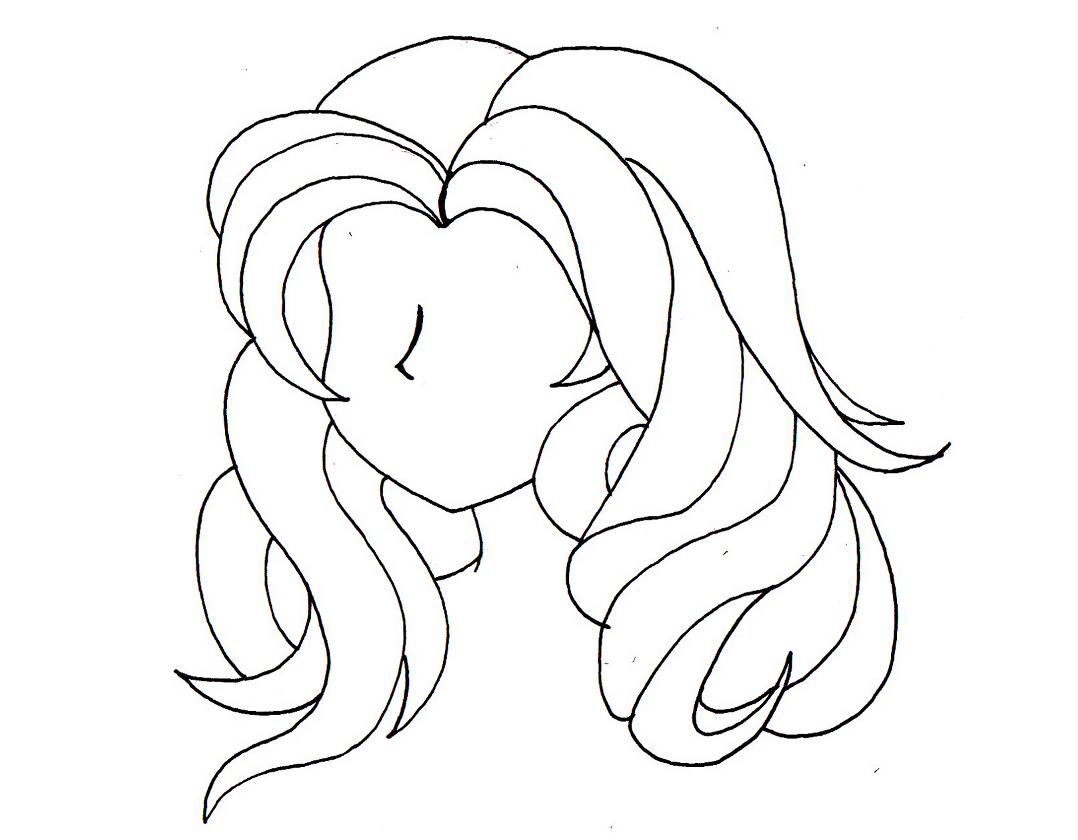 |
| Click for larger image |
Draw wicks
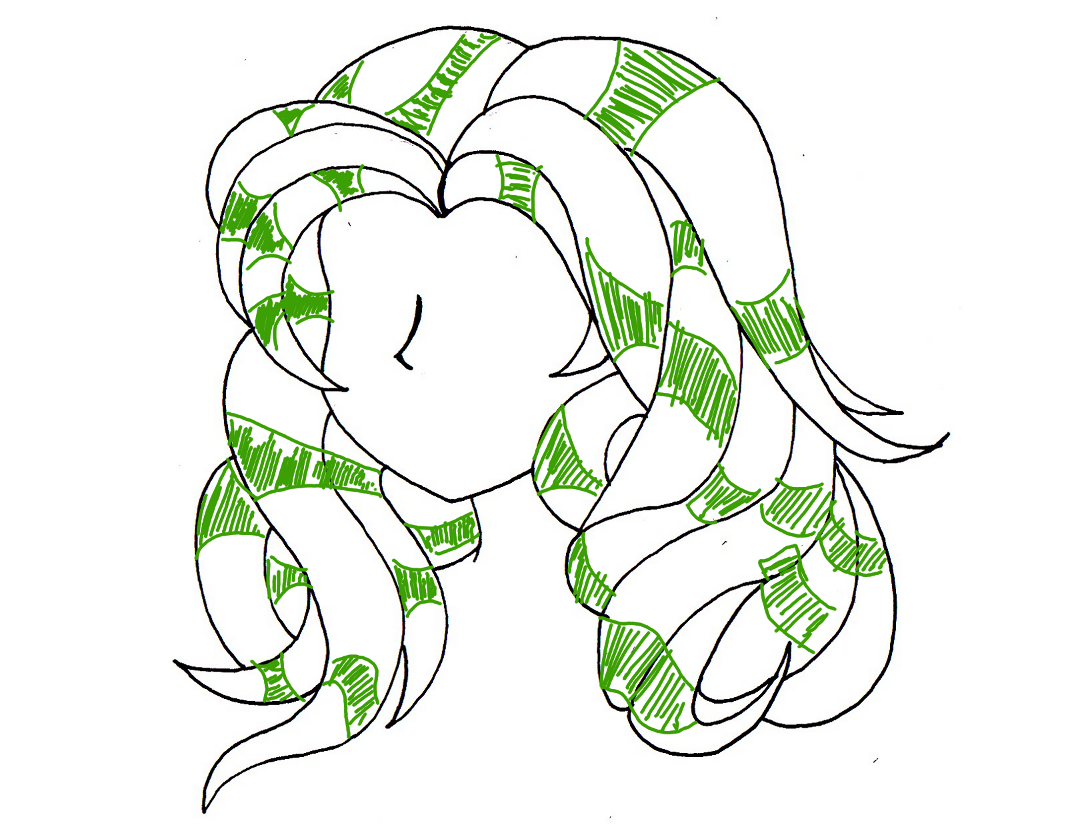 |
| Click for larger image |
Define the future reflections (green)
 |
| Click for larger image |
Color your hair with frames if you have black or making very fine lines.
Some examples:
The hair of this girl
a stiff curly hair mixture
 |
| Click for larger image |
The hair of this girl are cut into long strands that go in all directions. this gives and a sense of movement.
 |
| Click for larger image |
To give an effect of "wind in the hair" must be defined with the wind and wicks draw after this.
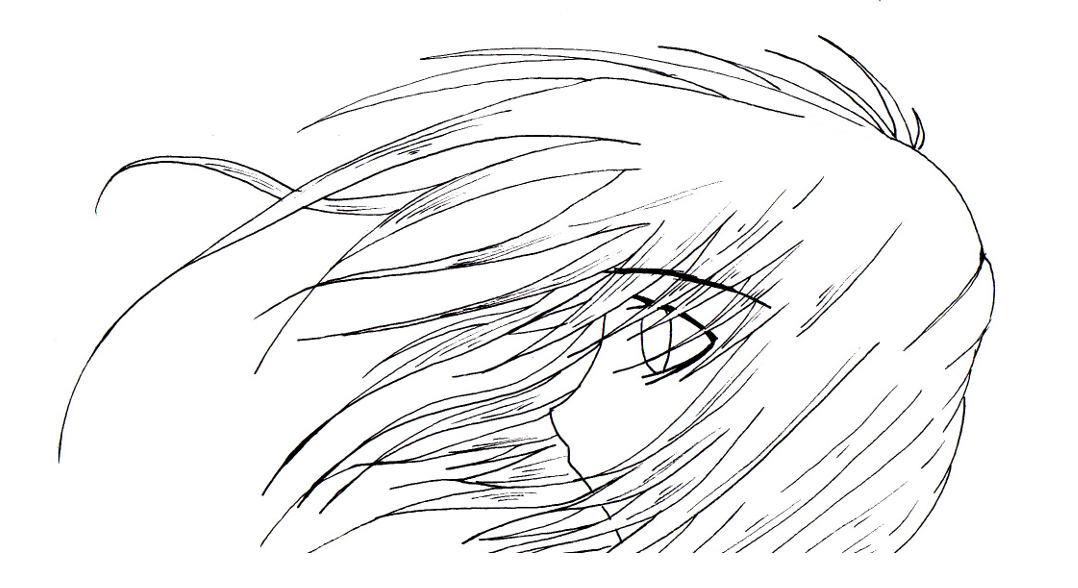 |
| Click for larger image |
In this scene, the hair hug the circular motion of the head. Thus it gives an impression of speed.
 |
| Click for larger image |


Post a Comment